while re-working our installation for this year’s Resonate 2016 festival, we are doing things a bit slower now. and since i am talking about us here, i also mean the fine people Irena Kukric and Luiz Zanotello. back then in april, we only had two and a half weeks to force the project through from the very start til the bitter end. meaning:
– concept & idea phase
– prototyping & testing
– realization: building, programming, lot of sweat
– finishing touches, shipping, setting up and presentation
obviously some things you can’t force, if you don’t have enough hands or money. in our case, at least at that point, money wasn’t the problem but the scale of the project and thus a lot of missing hands. i’d say, we conquered the first point quite fine. we had some nice concepts, iterated on them and were always trying to work out our way from last year’s project ‚Automatic Orchestra‚. this time we wanted to tackle and aspect, last year’s team didn’t get to touch at all: movement and sensing.
so we took the liberty and built upon already existing software and hardware and tried to alter the experience, so i wouldn’t just turn out as an Automatic Orchestra 2.0.
i don’t want to go into detail about things that went wrong in april. i’ll take my time to elaborate on this in a different post in the future. today i’d rather talk about the second point: prototyping and testing.
due to the time constraints, we never got to proper prototype our sketches and design from paper. under a lot of heavy pressure, things start to make sense in your head and you tell your team members: yes, that’s the solution we need *right now*. so for most of the cases, we only iterated one, maybe even two times on our designs. not more, which is a huge mistake! but how did it come to this?
we were quite sure, that working in a modular fashion turns out just fine, but it didn’t. not just by itself. every module on its own can work quite fine and without any problem, but the sum of all modules is by far greater than expected. which is a known fact. so is also the sum of all errors. fact, too.
iteration is most important. it gives you agility, flexibility and control over what you are doing. on the downside, it is quite time costly. many great projects started quite simple and only evolved over time. in memo atken’s works, a re-occuring pattern of „simple harmonics“ can be seen.
maybe even started as a creative coding sketch, where different particle with different velocities can generate quite dynamic patterns, he turned it into something beautiful: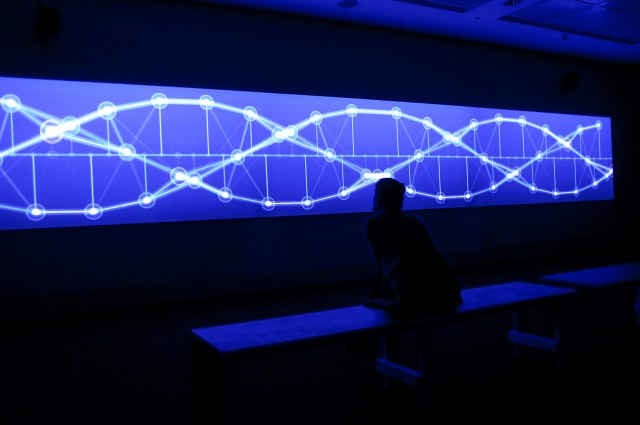
even a perfomance emerged from this, through iteration over projects:
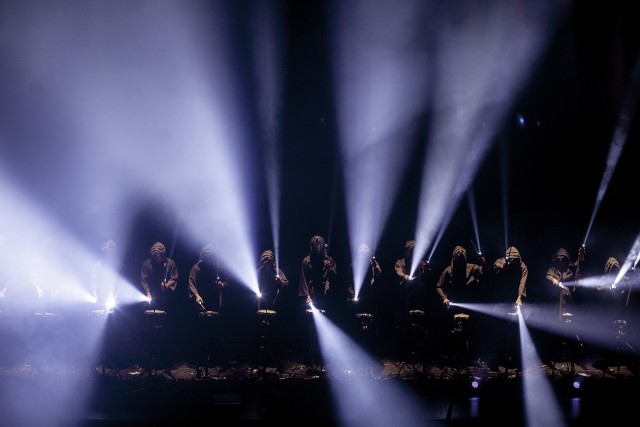
(http://www.memo.tv/simple-harmonic-motion-12-for-16-percussionists-at-rncm/)
but what does that mean for us?
we wanted to iterate over Automatic Orchestra without giving up own aesthetics for a new project.
so it was an iteration over the hardware, right? sort of. the software from before mainly consisted of a pcb, the PROTOSEQ, and some speakers and a monopod stand. that’s not a lot to take away.
so we took the heart of automatic orchestra, the PROTOSEQ, and tried to hide it inside of a wooden box. so far, so good. but this is the point, where things started to to awry: modular design needs a lot of testing. we didn’t have that time, so a lot of weird mistakes no one was thinking about started to emerge only when we set up the installation in belgrade at the kinoteka installation site.
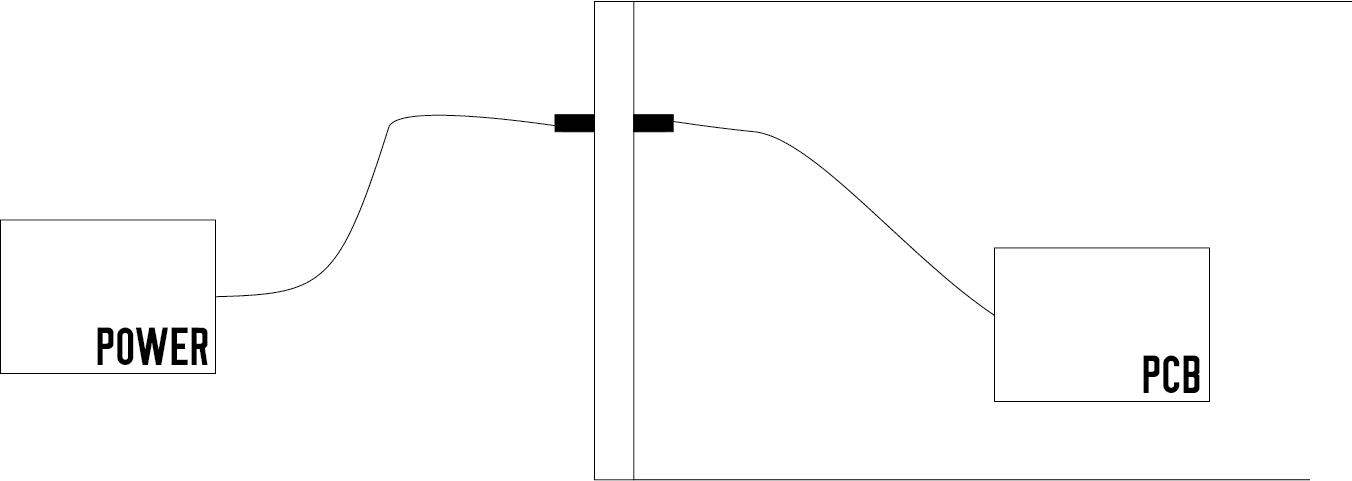
for example: cable connections between the inside (PROTOSEQ, motor) and the outside world (speakers, power supply) were totally overlooked! to be more precise: a power supply cable coming from the outside would have to go through a little hole and be screwed on the pcb – directly. that is a huge no-go no one from our team has thought about in advance.
why? maybe because we never put together a whole piece – or also called pod – before we even left germany. maybe there was just too much other stuff to handle.
so what was in this special case the punishment for such a design error? simple: a pod would be connected to the power source in a manner, that moving around is a hard task. disassembling cables can only be done from the inside. so if we wanted to move the whole installation, we would have to drag all pods one by one, with a lot of more hands!
what would be a solution then? also that is quite simple: a hardware interface. some plate, that sits on the outer face of the pod’s wooden case, has all the cables from the inside already connected and invites us just to plug in cables from the outside easily.
we had to find this out the hard way, like so many other things in the project, but we are now quite happy working on it again. making the installation run smoothly, without any construction errors and easy to handle software.
from this hardware interface story and the (more or less) missing iterative part of our project, i want to come to the current state of project. right now, in our team of three, i am in charge of designing the exact parts for the construction. all of this has to be done on a tight budget – literally none. so what to do?
good we have access to a Ultimaker 2 3D-printer. especially in the case of the hardware interface i want to show two things: how do you create on a small budget and how do you iterate over a design?
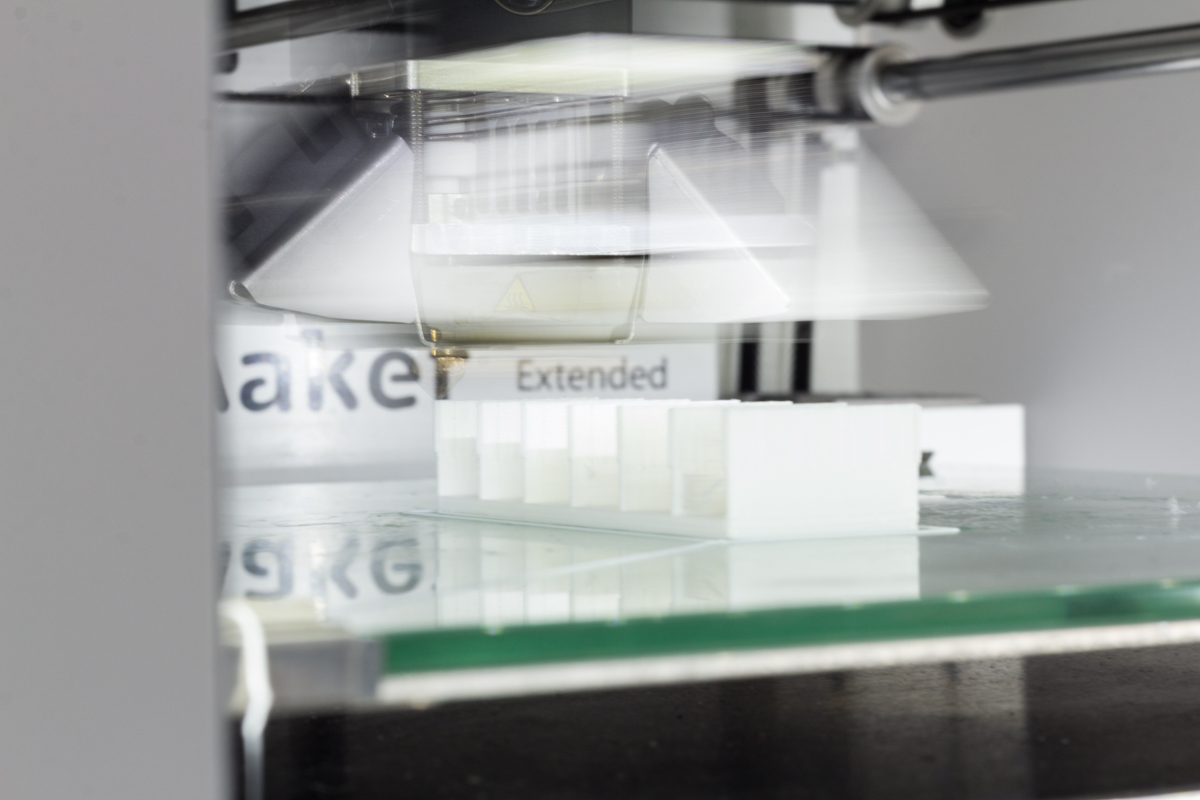 with the help of the UM2 printer i can quickly pump out designs from my cad program Fusion 360, which i only got to learn in the last few weeks and already got quite proficient in it.
the material costs are vanishingly low, which makes it a prototyping tool of the first chop!
but the main critical point of the whole project is the repetition of the several pods: we need them seven times. that means, completing one pod and having expenses in the amount of several hundred euros is a no go, since we have to multiply a few more times to get the whole installation. so trying to save on every part we have to buy is an absolute must!
how about the hardware interface again? we want to connect two cables, inside and outside:
there are solutions on the market, like this here:
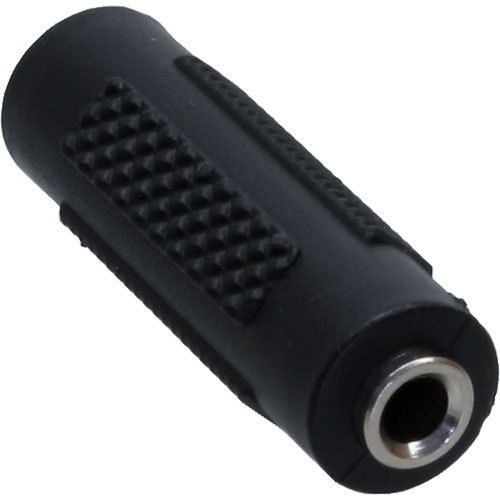
but they are also price heavy: 2€ a piece. and we need them on each hardware interface six times (midi in, midi out, speakers, etc), so that’s 2€*6 = 12€, and in total we need this 7 times for our seven pods: 84€. just for stupid adapters. and then we can’t even properly attach them to a front plate. so how about this approach: let’s use our brains and make something useful!
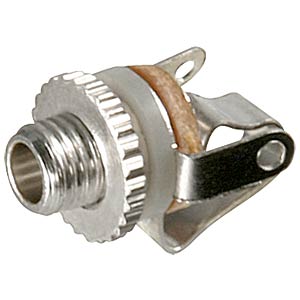
Klinkeneinbaubuchsen at reichelt.de – 0,21€. and they’re even screwable. the idea here is to come up with a design that’s combining two of these assembly audio jacks into a modular design. how about this?
as shown above, there is a clear iterative process to be seen from left (initial design around the jack) to the right (current one). after a lot of measuring, these assembly jacks are quite irregular shaped, the idea from putting the jack into the box from the top changed to a sideway entry approach. why?
i just didn’t want to have them to be modular, but also stackable! so putting from above turned out to be a bad, since there would be always the next module on top blocking access. but how to solve this?
the current solution is this one:
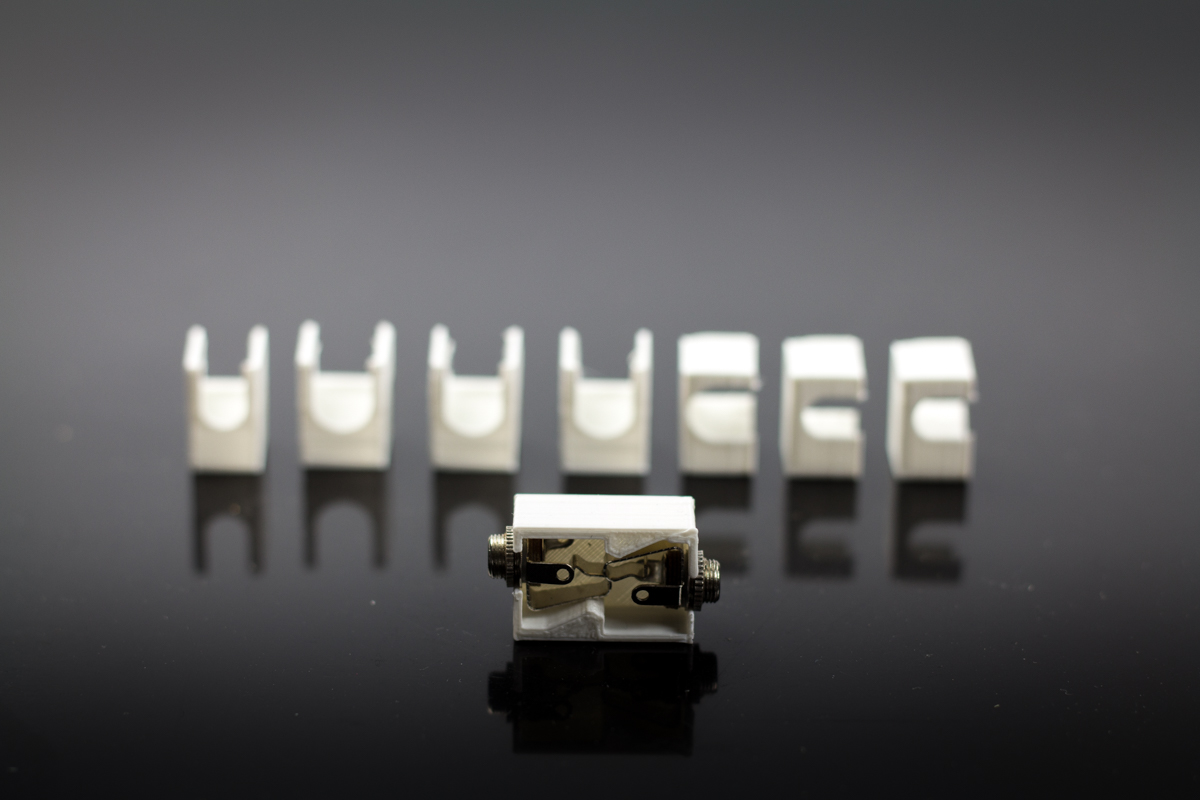
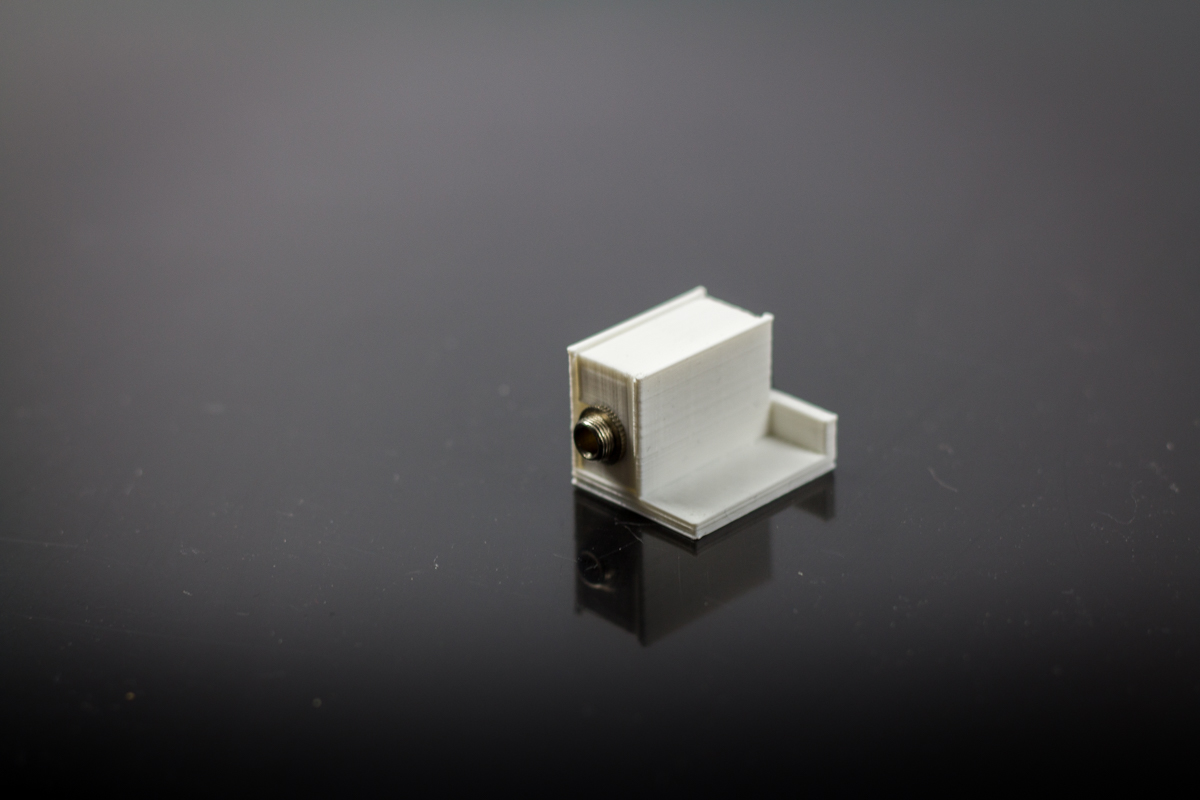
pre-solder the two jacks and cramp them inside the box. fasten the screws so the whole inner part doesn’t move anymore and then…
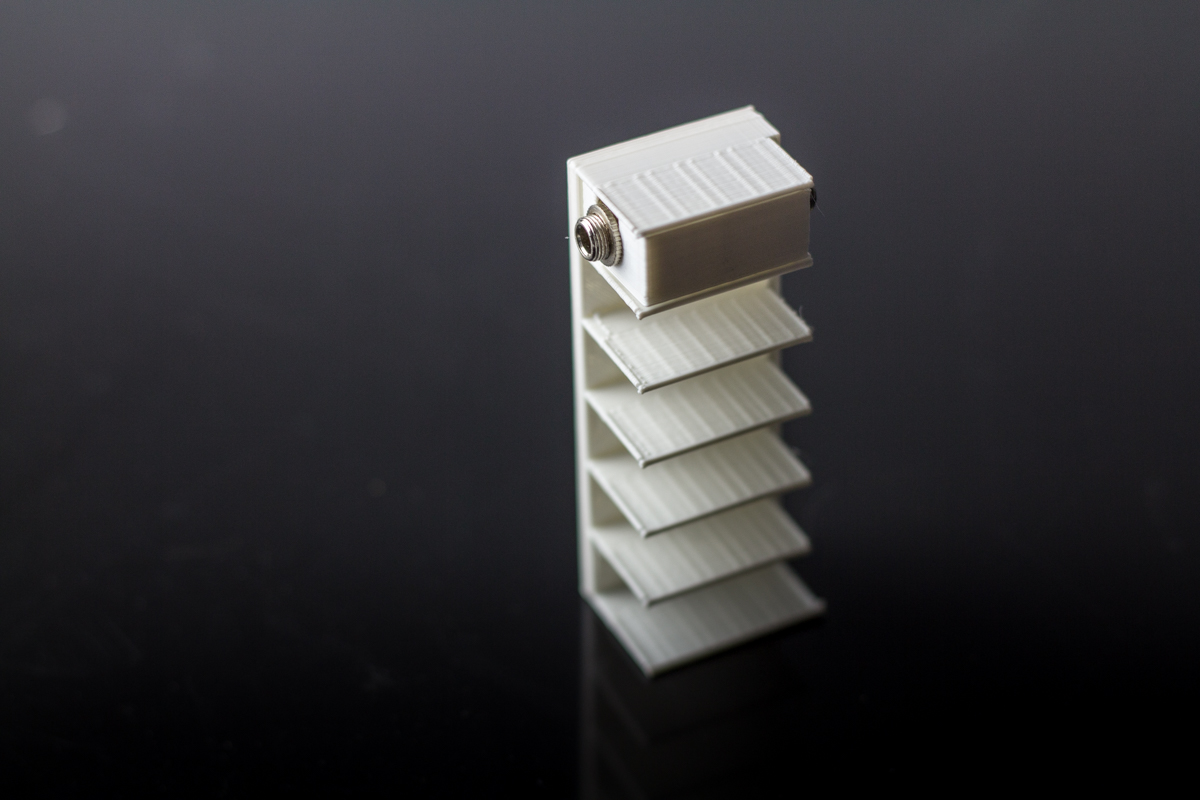
put them into a small rack for holding them in a stacked manner. ok, the design is not quite finished. there are still things missing: attachments to a front plate or a side plate, to prevent the jacks from getting out sideways, but this can be produced quite fast.
and the overall cost? (0,21€*2 two sides)*6 jacks = 2,52€ (!) * 7 = 17,64€ for the whole set + a bit of material cost.
in my opinion that’s not bad and saves a lot of money for other parts, which are not that easy to produce.